Baritone Ukulele Build Log Posts
I enjoyed building the concert ukulele kit from Stewmac. I The largest uke kit the make is the baritone. The skills and techniques needed are similar to those for building guitars. Here are some pictures and notes from the build.
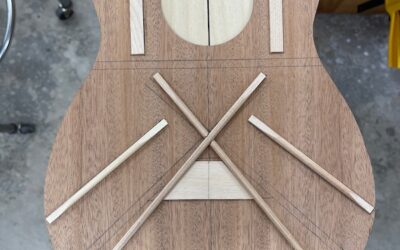
Bracing the Baritone Ukulele
Bracing the back and top are the first steps in building the StewMac baritone ukulele kit. Back braces are easy to lay out and glue up while the top bracing requires a little more planning.
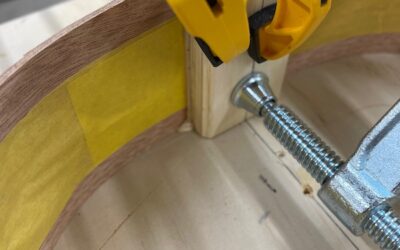
Gluing Sides, Neck and Tail Blocks
After bracing the top and back the sides are joined using neck and tail blocks to provide plenty of gluing surface. The result is a very clean joint that will take finish beautifully.
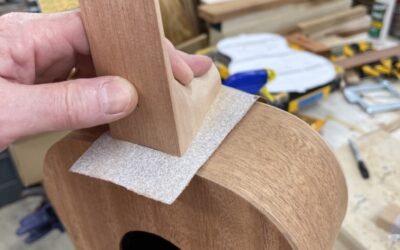
Fitting the Neck to the Body
The neck is held with glue and two dowels. The heal of the neck is roughly curved to fit the curve of the body. To make the fit perfect I stick some sandpaper to the body and move the neck back and forth to make the curves match. The dowel holes are pre-drilled in the...
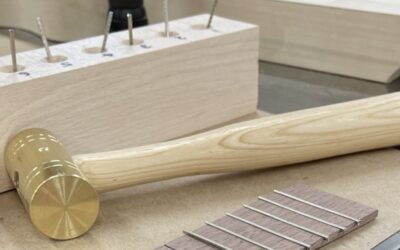
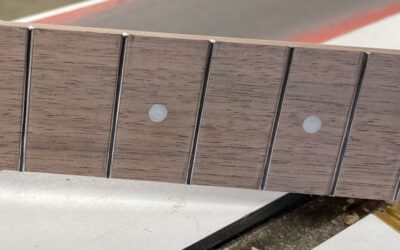
Installing the Frets
Leveling and Dressing the Frets
After the fretboard is glued to the neck it's time the dress the frets. Though I'm always careful to press the frets evenly they will always vary in height. To even them out I start by inking the tops then I stick a long piece of sandpaper to a flat surface. When I...
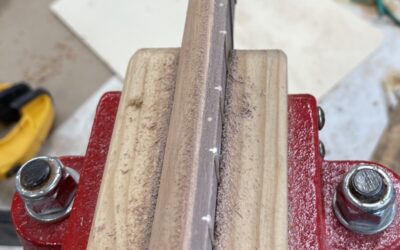
Gluing the Fretboard
Once the frets are pressed and glued in it's time to attach the fretboard to the neck. The neck that comes with the kit is pre-carved on their CNC machines and it's a little bit wider than the fretboard. I marked the position of the nut as a reference then applied...
