Ukulele Build Photos
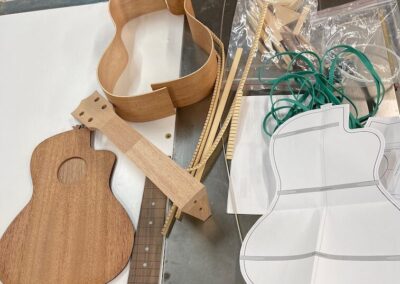
Unboxing the kit
Kit came with pre-bent sides, top and back, bracing, kerfing, mahogany neck, walnut fretboard, one length of fret wire and a great big green rubber band
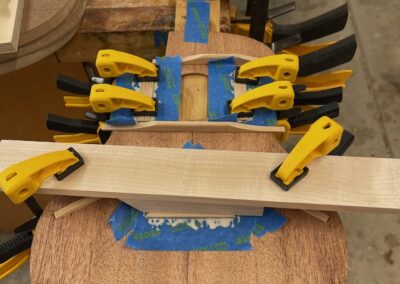
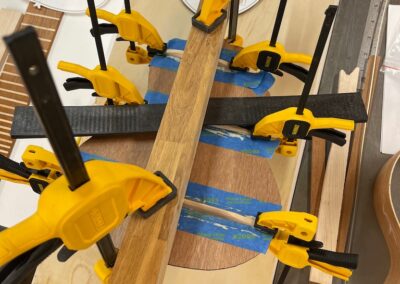
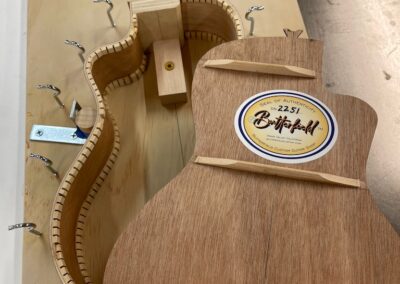
Gluing braces on back
Using clamps and shims for even pressure, braces are glued to the back for strength
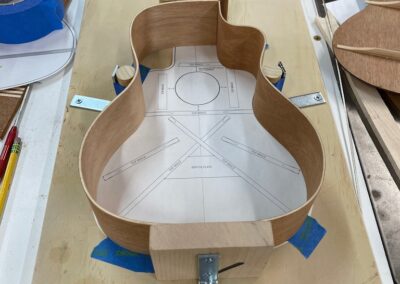
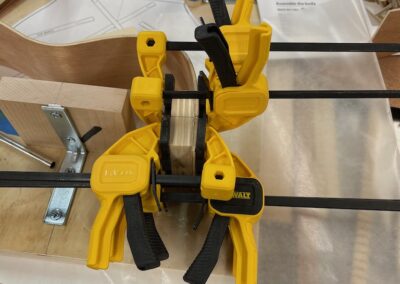
Gluing neck block
A block of plywood is used to provide a gluing surface where the sides come together at the neck joint
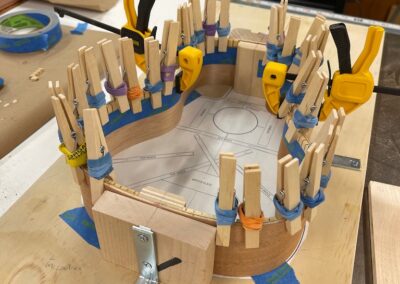
Using clothes pins to hold kerfing
Lining strips, also called kerfing, are glued to the sides to make them rigid and provide more gluing surface for the top and back
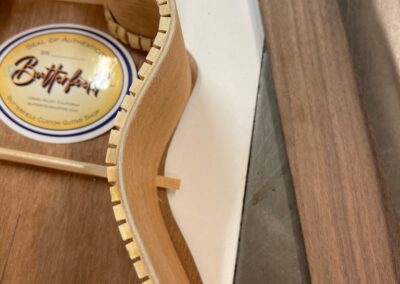
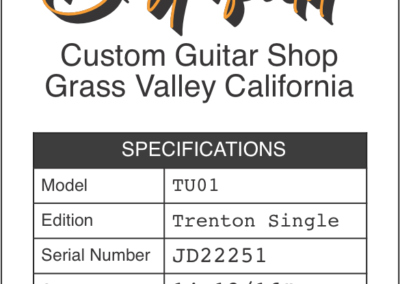
Kerfed linings and interior label are in place
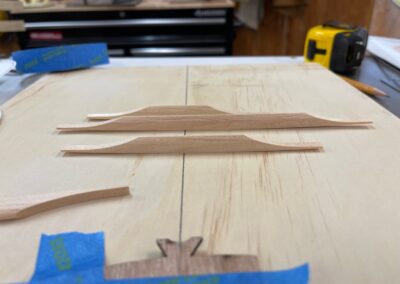
After gluing, braces are marked and trimmed to fit into notches in the side kerfing strips
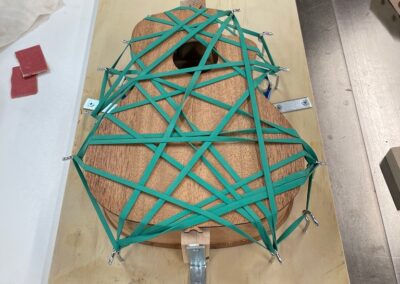
Gluing top to sides
That big green rubber band acts as a clamp to hold the top to the sides and kerfing strips while the glue dries
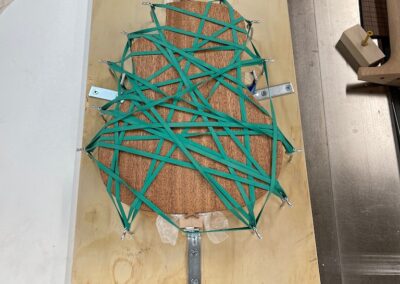
Rubber bands hold back while glue dries
One big green rubber band is wrapped around hooks on the building jig to clamp back and sides during glue up
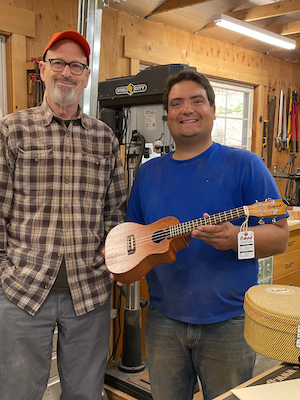
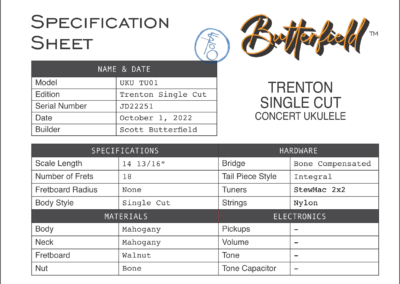
Spec sheet and hang tag attached
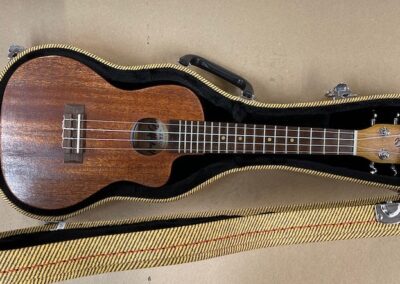
The hang tag and spec sheet are placed in the case with the completed instrument
